(home) (door opening) ( jack hammer 1) (jack hammer 2) (pouring 1) (pouring 2) (outside wall) (ceiling)
When day two dawned, Laura and I were off at the doctor's office getting another baby checkup. The doctor confirmed that there was still a baby in there, so it was back to the house for me. Btw, the doctor also said that if Laura went into labor, we'd reached the point of the pregnancy where the labor wouldn't be stopped and we'd go ahead and deliver.
Yes, this means that at any moment I could be driving to the hospital to become a dad. No, we don't have a bag packed. No, we aren't ready yet. Yes, this is simultaneously really, really cool and a bit nauseating feeling.
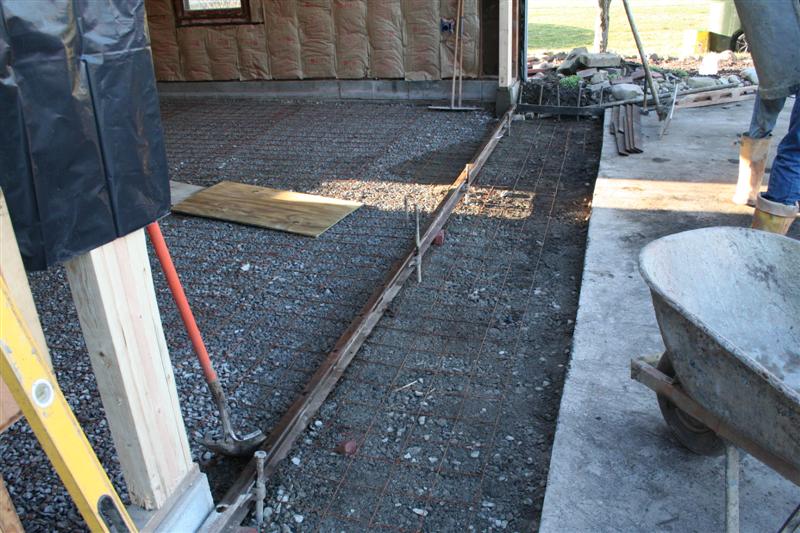
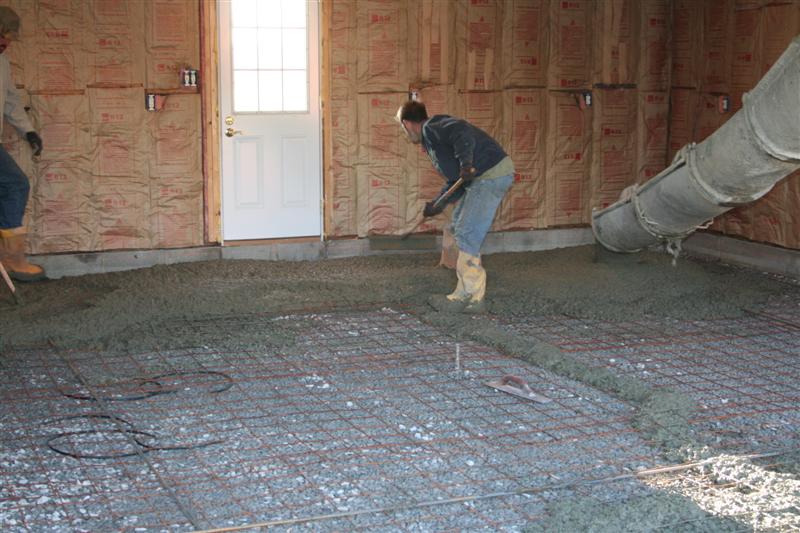
Anyway, day two at the house started with laying out the wire mesh, a couple forms, and a little rebar:
Then the first concrete truck came.
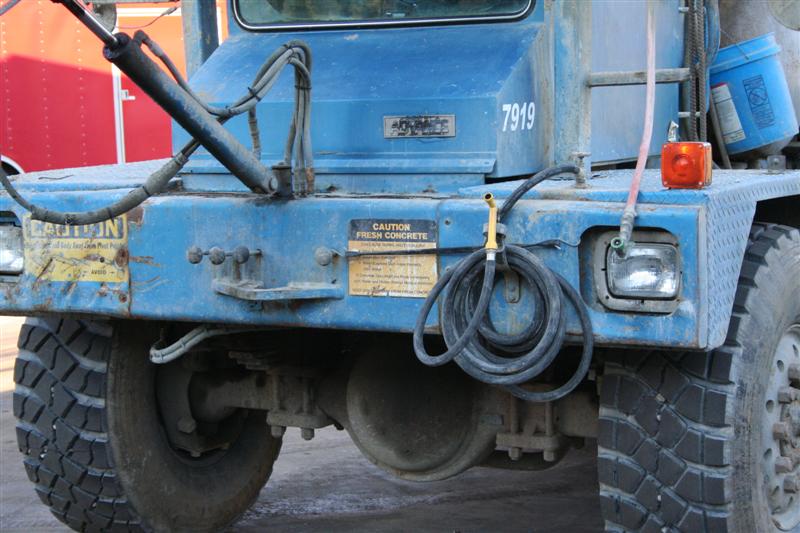
Here's what I want to know... Who is it that confuses a concrete truck with _anything_ else? Is there some guy out there delivering milk with a concrete truck? And since I'm asking stupid questions... Who brings _stale_ concrete?
Anyway, here's the obligitory picture of the first bit of concrete going into the floor:
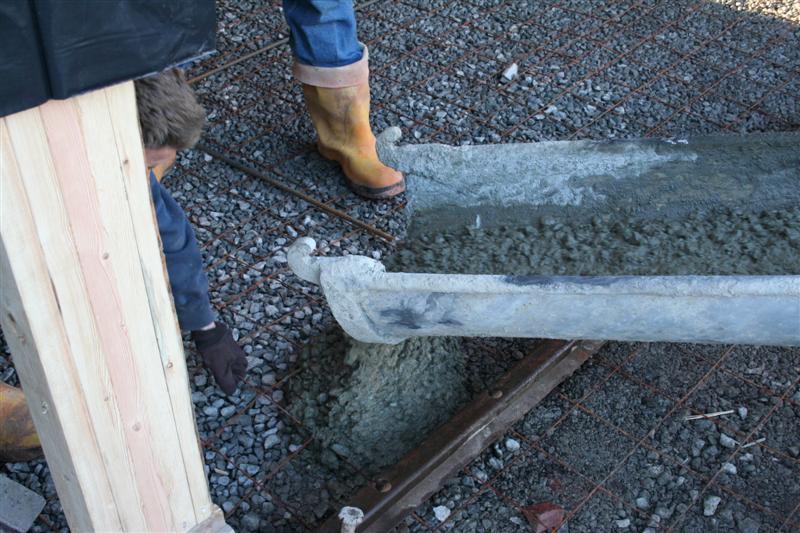
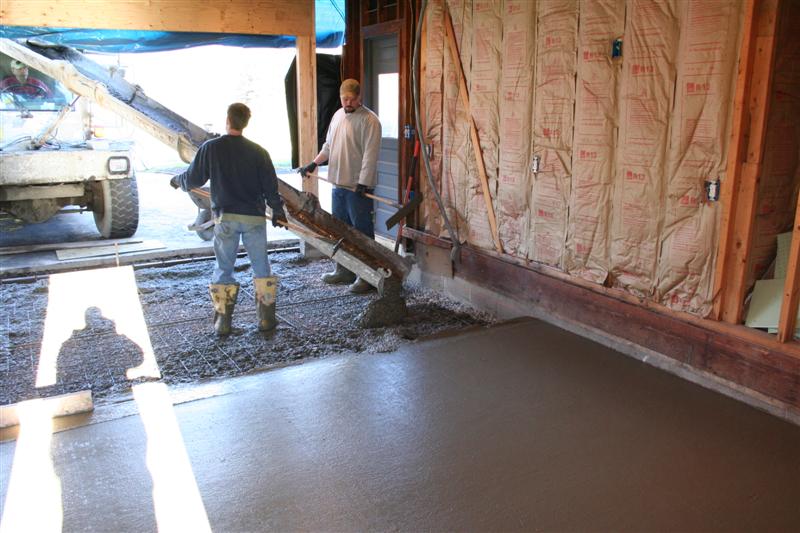
Once they'd poured a line across the front (presumably to have it set up so that they could take their form out later on before they poured the approach ramp), it went pretty fast, working from the back of the garage toward the front.
That was it for the first truck... Joe split up the concrete into two loads to keep some of the weight off the driveway.
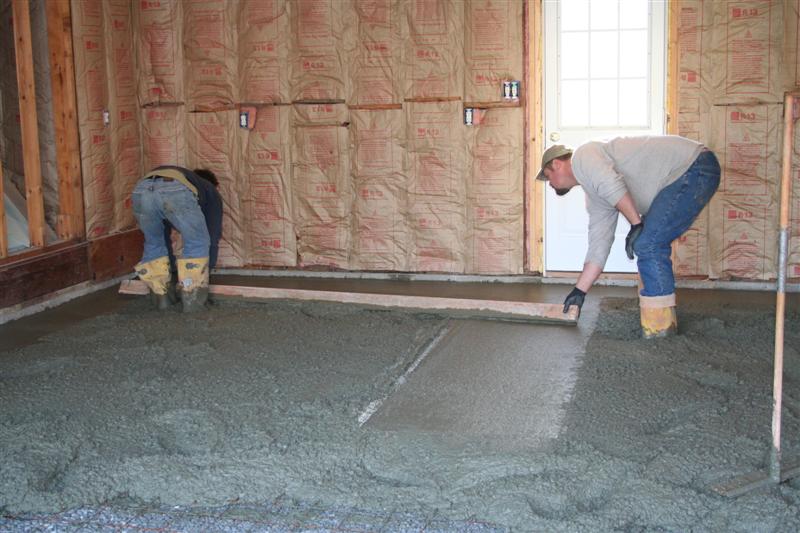
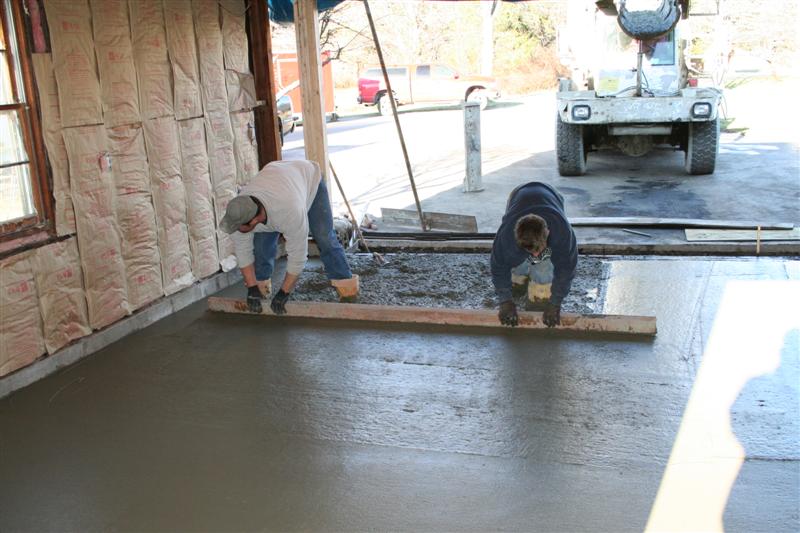
By this time, some of the differences between a professional and a shmuck like me were pretty obvious. First, the concrete driver didn't laugh at Joe once. Second, there's no way in heck that I'd have been comfortable trying to get a flat floor with just the chalk line around the cinderblock and a steel pin in the center of the floor. They way they did that was to hand trowel the concrete up against the wall to the line, then they screeded that patch you see above in front of Joe, coming out from the door, using the pin in the center and the line on the wall, then they screeded down those two patches.
Now, if _I_ tried to do that, I'd get a small model of the rolling hills of Kentucky in the floor. But they did it like it was nothing, and the floor looked pretty flat when they were done. If I decide I really want to know, I'll stretch a line across the floor and see if it really is as flat as it looks.
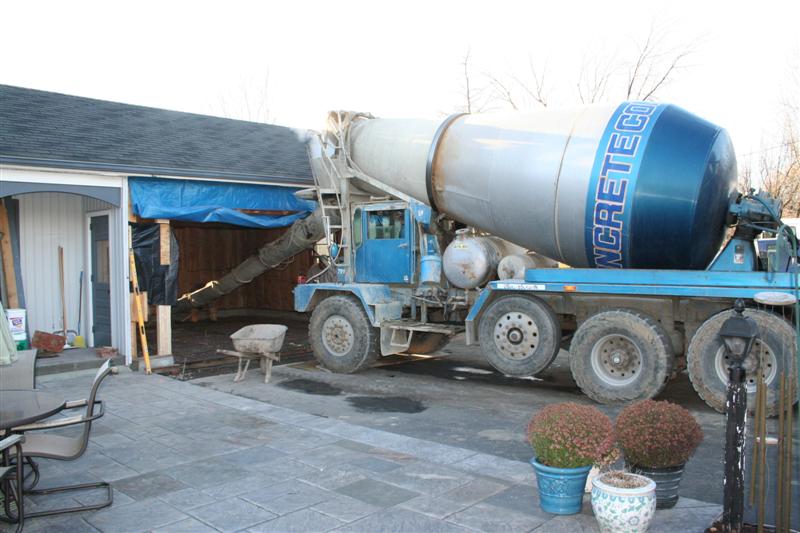
Here's the 2nd load of concrete:
Mike was also running the bull float as they finished sections. No, I don't know why its called a bull float. Maybe the Amish attach them to bulls for really large concrete jobs?
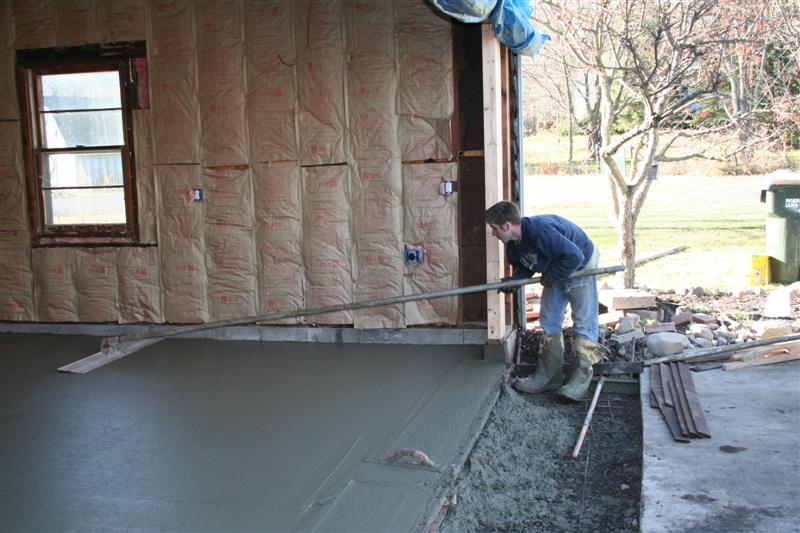
And here's Joe edging the main floor.

Then the ramp was poured, and everything starts to look more done:
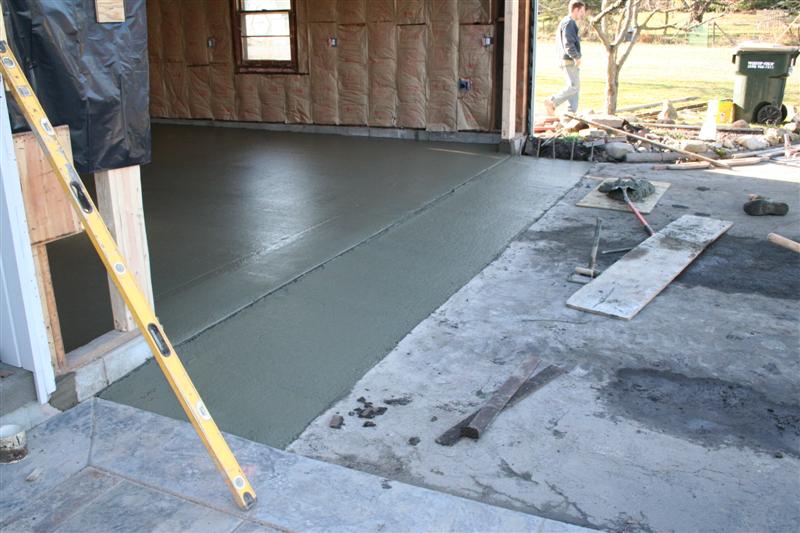
The ramp really came out nice. I was a bit concerned about the lip getting into the garage and low height race car type vehicles, but this approach looks great for that, nothing too sharp that'll catch wayward exhaust headers or torque arm mounts or whatever.
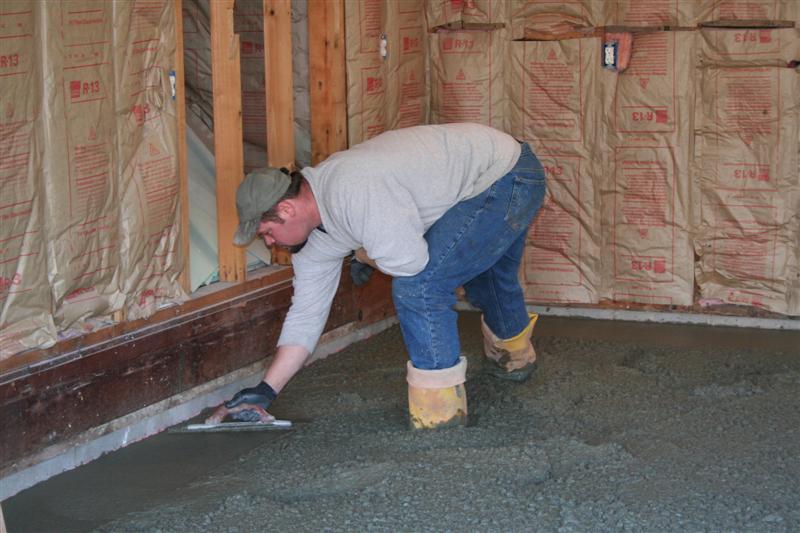
The only thing left was the finishing:
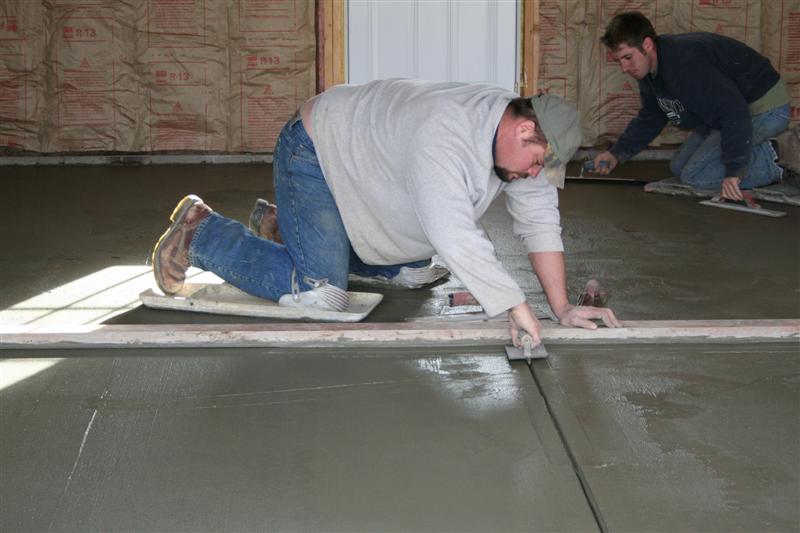
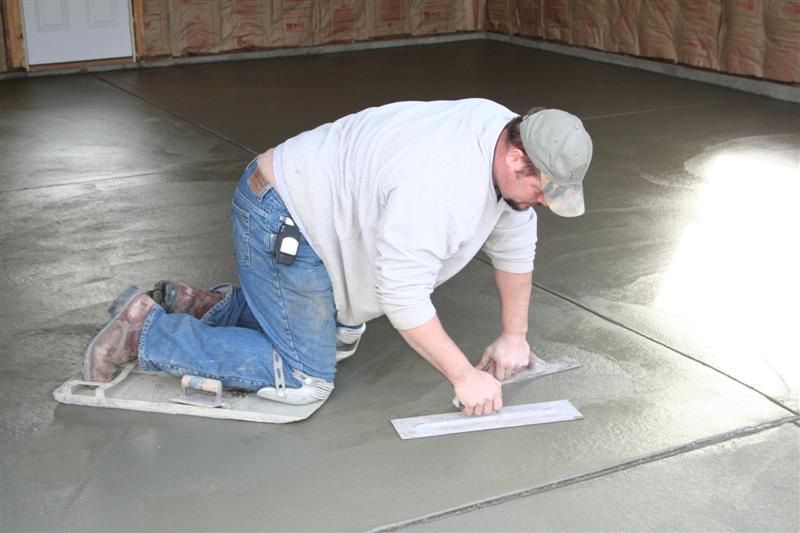
Joe and Mike hand troweled the entire floor. When we did my buddy's floor, we used a power trowel, which is kinda like the bastard offspring of a floor polisher and an airplane propeller. I asked Joe and Mike why they didn't use one and they said that the power trowels just take a lot longer than hand troweling. I'm not sure if that's because the floor needs to set up more to run the power trowel or because the power trowel can't get into the corners well and matching the hand troweling to it causes issues or what. Certainly the end result looks as good as it did when we used a power trowel though! They hand trowelled the floor three times as I recall.
After Joe and Mike left, I made a little more substantial lean-to to protect the apron and floor from the rain scheduled for the night:
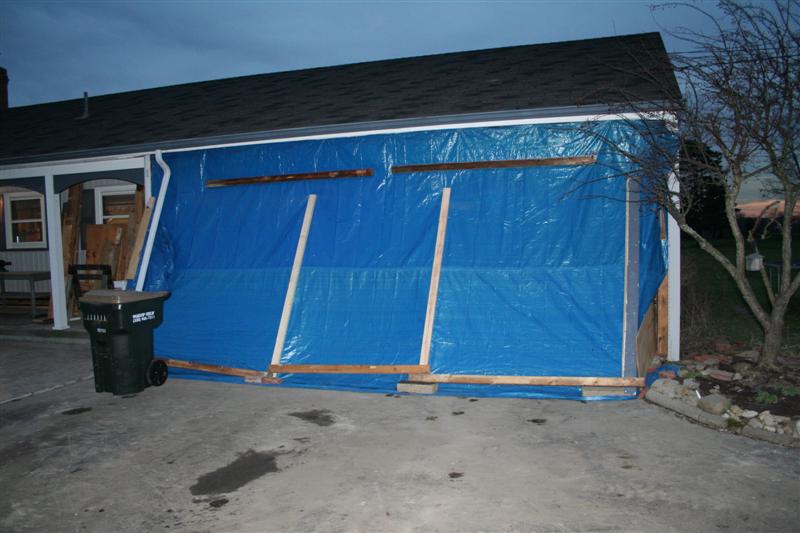
In a new record for me, I scratched up the floor less than three hours after Joe and Mike left. :-) I laid down a piece of plywood that I set the step ladder on to nail in the two angled 2x4's in the middle of the span. When I picked up the plywood, I dragged it across the floor, scraping the concrete. I trowelled it back down flat, but you can certainly see the "Mark was here" evidence. :-) Not a big deal... The first time I drop a rear end housing on the floor I'll mark it up more than that. Still, its kinda funny that it took me less than half a day to screw up Joe and Mike's work.
In the end, the whole job cost us $2800. That was broken down into:
The disposal fee was a little more than I expected, but even with that we saved $400 off the original price by busting up the concrete ourself, even though we did a 6" floor instead of a 4" and added a concrete apron (which I'm _really_ glad we did, looking at the end result).
Oh, and there was no charge for me screwing up the valve stem on the Bobcat.