(home) (door opening) ( jack hammer 1) (jack hammer 2) (pouring 1) (pouring 2) (outside wall) (ceiling)
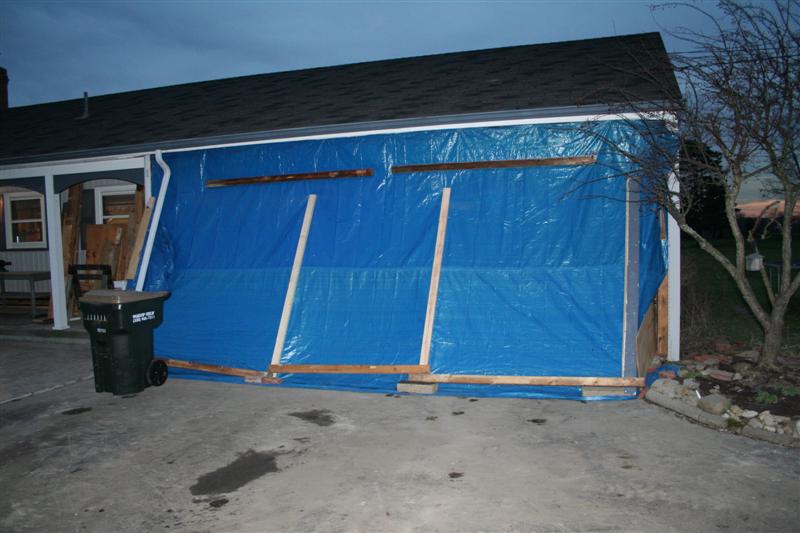
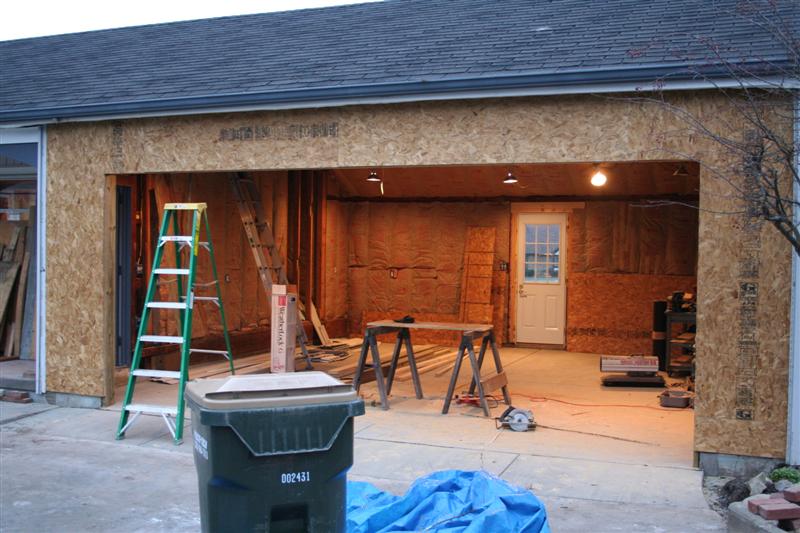
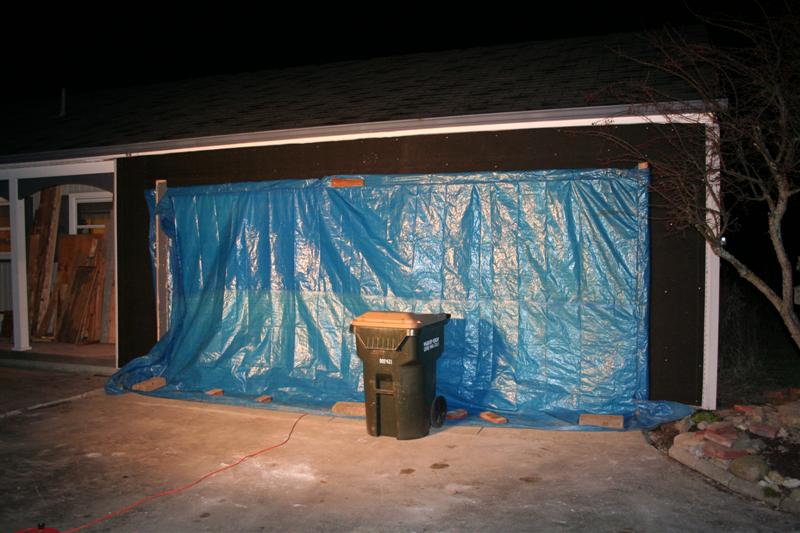
When last we left our project, the front of the garage looked like this:
As you might imagine, this doesn't add much value to the house, and your wife will complain if you leave the project in this state for a couple years. Plus, the blue tarp material will degrade in the sun, failing apart in a year or two.
Its also a bit inconvienent to use the garage if "opening the garage door" consists of a half hour's worth of work.
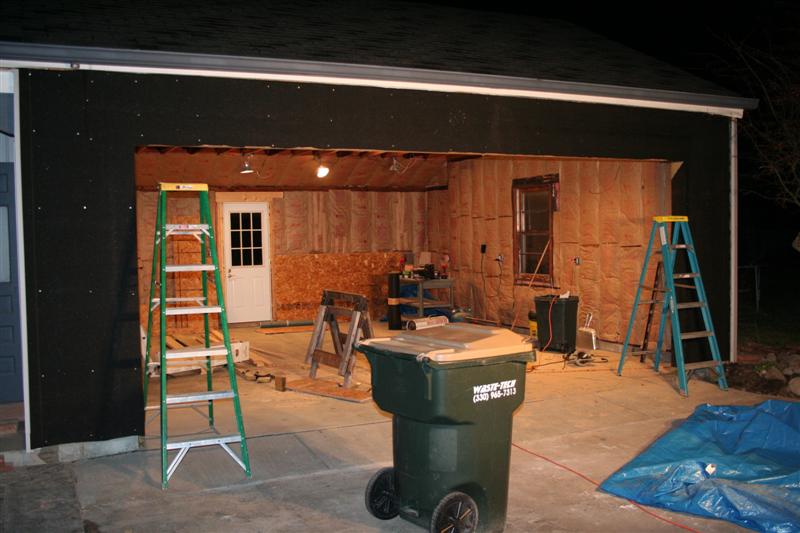
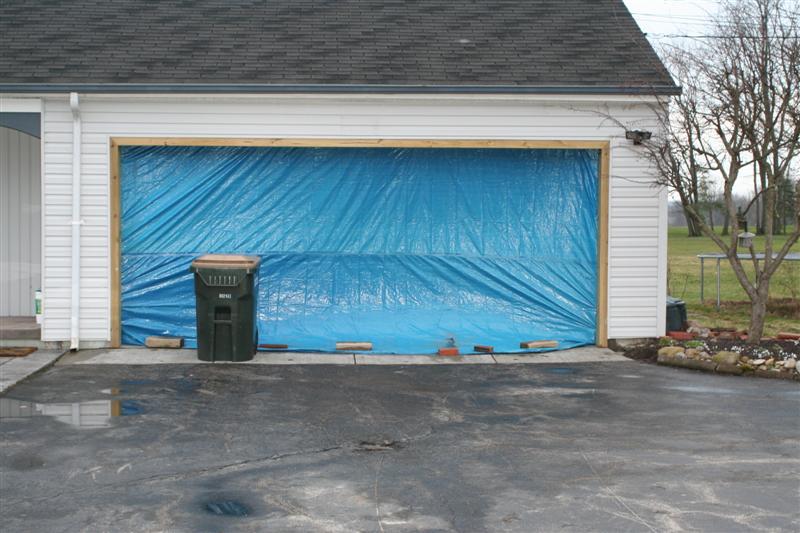
An enterprising person might point out that the blue tarp is, in fact, non-structural. For instance, if you just take the blue tarp down, the garage looks like this:
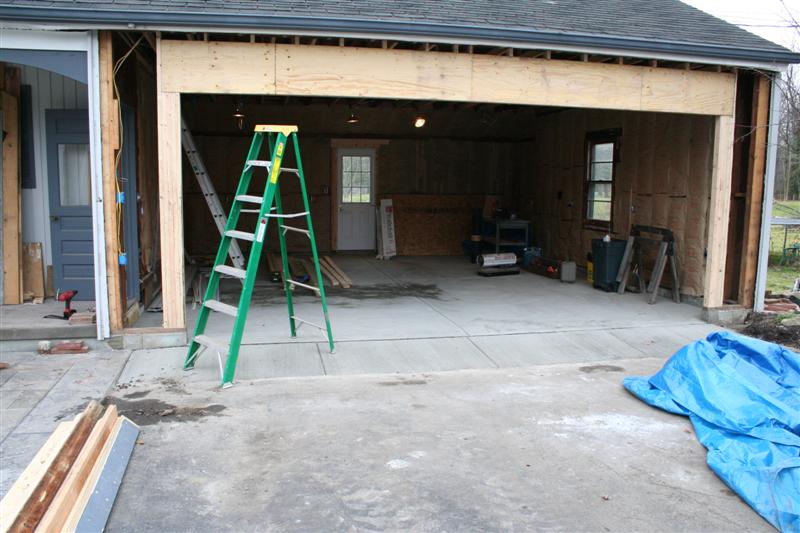
However, while this solves the issue of opening the door rather well, it introduces a problem when the weather outside is anything other than sunny and 70 degrees. And your wife, demanding as she is, still won't like it.
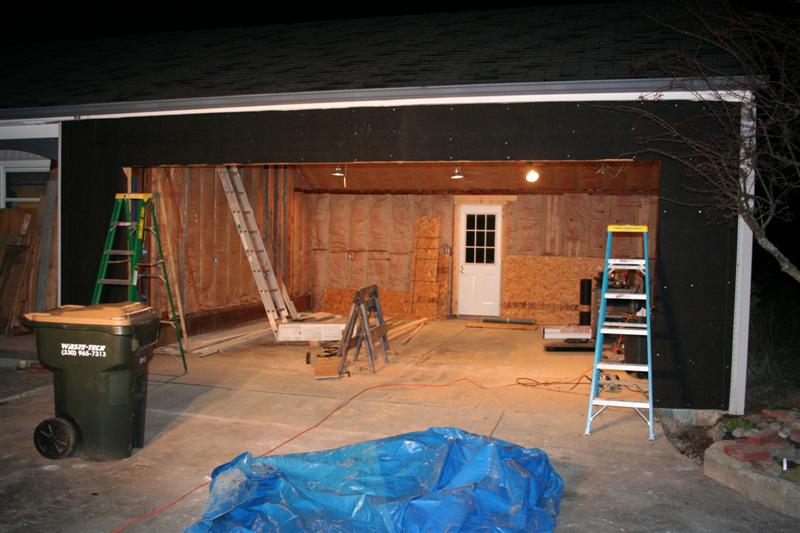
Clearly this wouldn't do. So the first step is get get some sheathing on the outside.
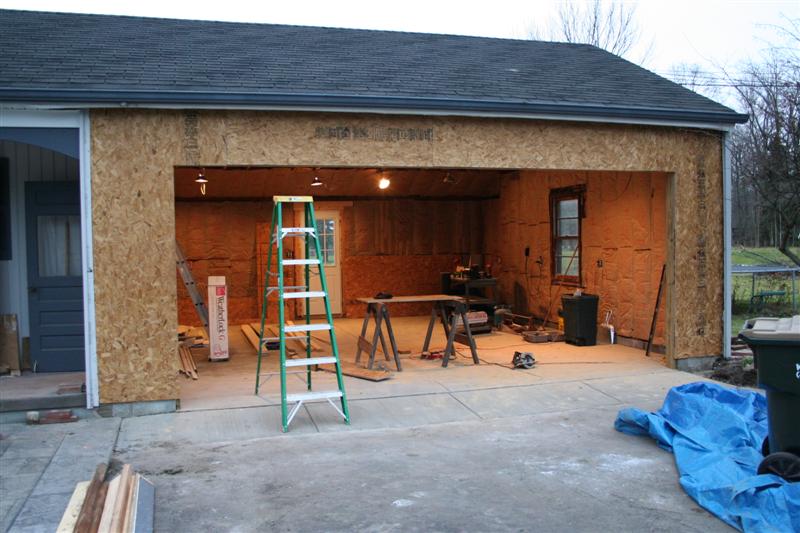
I used two layers of 13/16" OSB. "Why two layers", you ask? Because the old sheathing consisted of some sorta goofy 3/4" thick or so fiber board stuff, with the original wood clapboards on top of that. So the vinyl siding on the corners was about 1.5" out past the corner, and I wanted to match it.
Next, any good home builder will tell you, you want to put some kind of house wrap on the outside. Back when I worked on a carpentry crew as a summer job in college, we called that stuff "Tyvek". It turns out the local lumber yard guy knew what I meant when I said Tyvek, but he also knew that the smallest amount of it they sold was a 100' long 8' wide roll for well north of $100. That seemed to be a bit of overkill for what's probably on the order of 80 ft^2 of surface...
So I did what any good DIYer would do... I looked for something I had laying around that would work. It turned out I still had a partial roll of Bitch-A-Thane.
I'll bet you've never heard of Bitch-A-Thane (neither have the lumber yard guys, so don't feel bad).
It appears that folks today call this stuff "Adhesive roof underlayment" or something similar. It consists of heavy tarpaper, coated on one side with adhesive. You peel off the adhesive backing and stick it down to your roof, under the shingles (instead of normal tarpaper). Normally you'd use it on a roof where you were likely to get some water backing up under the shingles or something like that. I'd used it on a shallow roof at my old house, probably ten years ago. The stuff I have today is a little different than the stuff we used to use on roofs back when I was on that rough carpentry crew. The stuff today is a little stiffer and the adhesive isn't as strong, so its much harder to have the wind blow it around you so that you're entangled in a big sticky strip of human sized flypaper while all your buddies on the ground laugh hysterically.
Hence the name. Its a [unsafe for nephews] to install on a windy day.
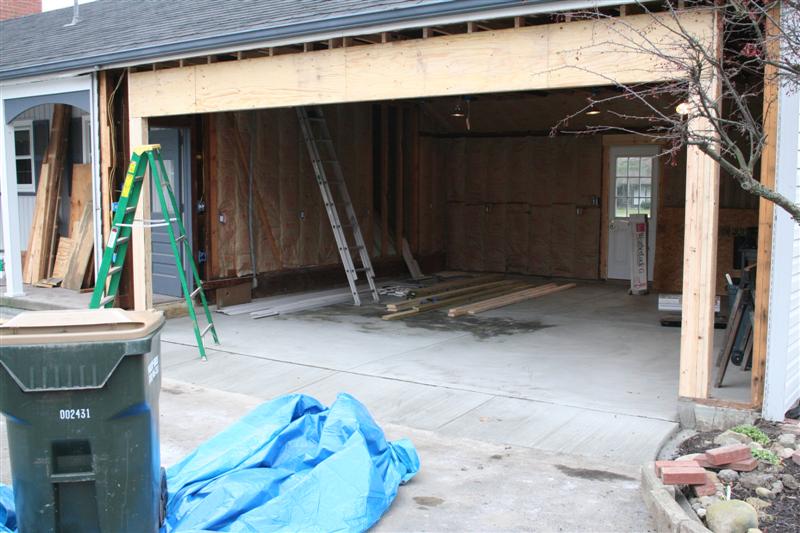
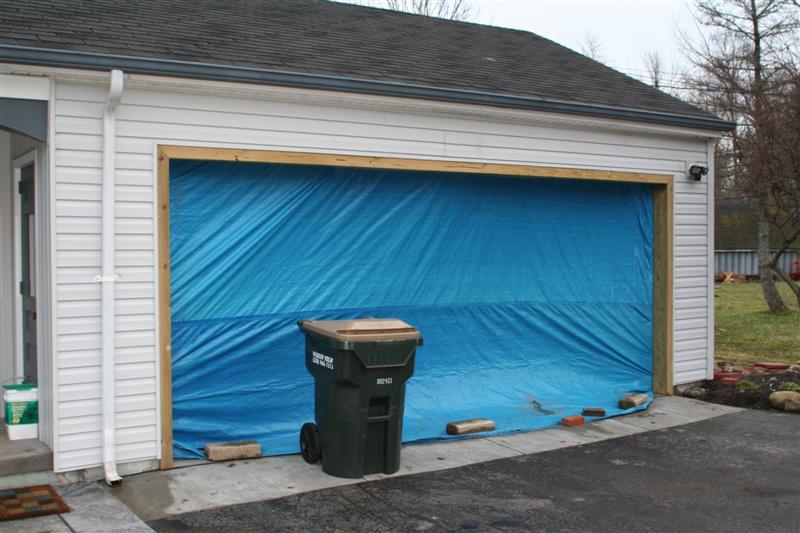
Anyway, this stuff seemed like it would do admirably well as a house wrap.
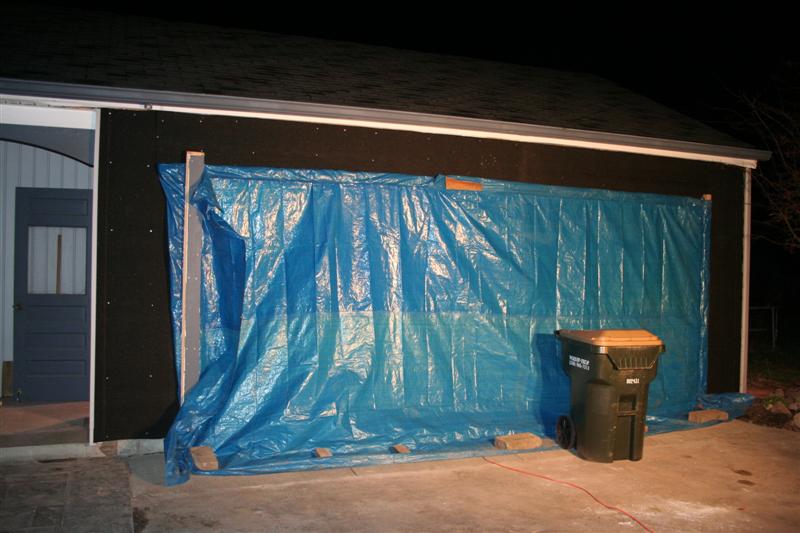
As you can see, the blue tarp is still pretty useful.
That work was completed on December 17th, aka "In the time before Dominic". I don't recall the reasons why at this point, but not much work got done between then and when Dominic was born on Jan. 26th. And after Dominic was born, essentially nothing got done until this past March. I know why that happened though! :-)
We got back going on the project in March. We had a pretty cold (perhaps record cold?) February and March, but eventually I got out and got the trim done and the front re-sided. I just reused the original siding, which had been kicking around in the way in the garage this whole time. Here's how it looks today.
Total cost on this stuff was just what it cost for some pressure treated trim boards... Everything else was from materials we already had.
Use your browser's back button to go back.