(home) (door opening) ( jack hammer 1) (jack hammer 2) (pouring 1) (pouring 2) (outside wall) (ceiling)
We planned on using our two car attached garage as an interim shop until we could build our own version of the "Garage Mahal". However, the garage had some issues when we moved in back in 2004. It only had a couple 110vac outlets, lighting was horrible, the floor was lower than the driveway (particularly enjoyable when it rained and you wanted a temporary indoor pool), it was uninsulated, and it had two overhead doors instead of one (making use as a one car shop rather annoying).
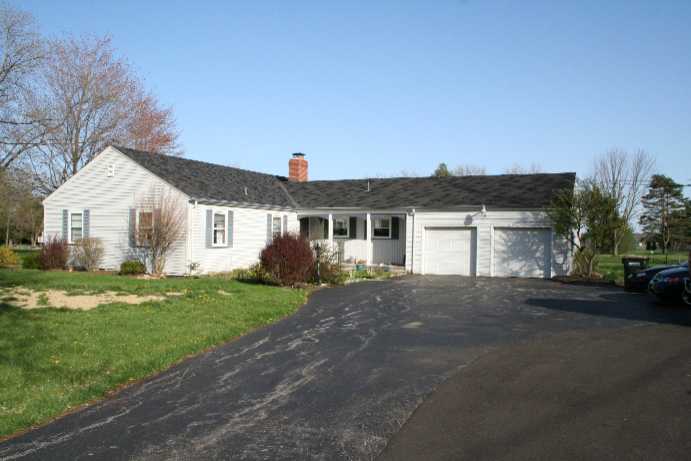
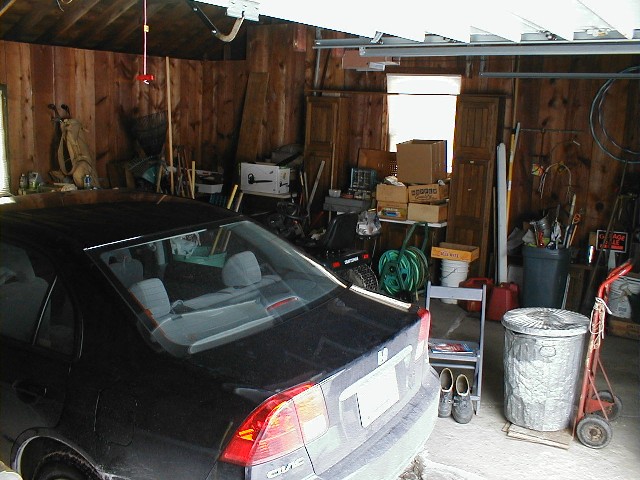
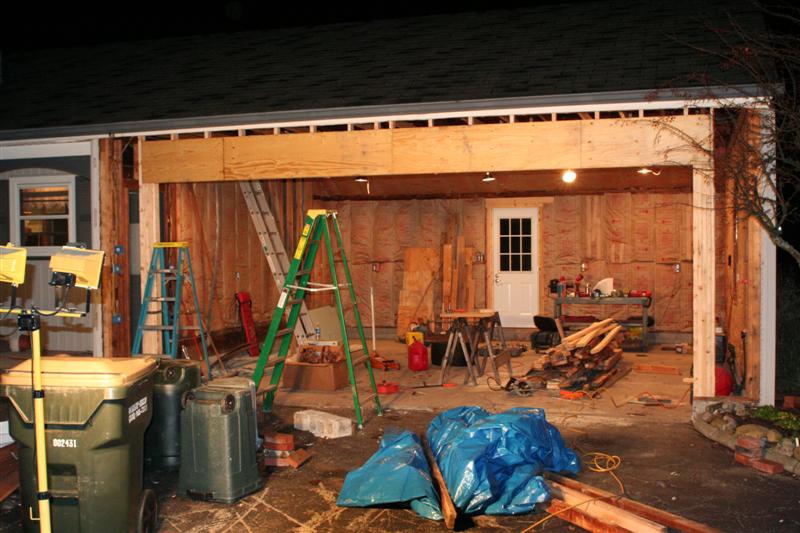
Here's what the garage looked like originally with its 8'x7' doors, along with a crappy shot of the interior from before we bought the house.
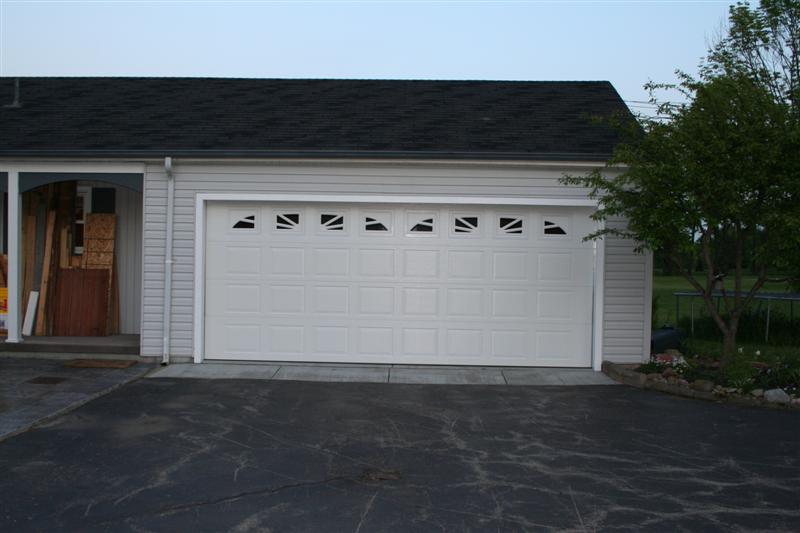
Here's what the garage is supposed to look like when we're done (photoshop, and a friend that knows how to use it, is a wonderful thing!). The new door will be 18'x7.5' and will let us pull a vehicle into the center of the garage, as well as more easily fit taller/wider vehicles like our truck when the Garage Mahal is built and this goes back to being a 'normal' garage:
Since we've moved in, reconstruction has been slow. It turns out I'm a bit lazy.
The first step was to take down the board walls (we reused those boards for some attic flooring) and re-wire. We did this fairly quickly after we moved in, working with some "new house" momentum and a good dollop of "My god, my parents are out there working on this, so I guess I better go help" guilt. We put in five 110vac circuits: two outlet circuits, one for the garage door opener & some incandescent bulbs, one for the heater and flourescent lighting, and one for the hot tub. Ok, hot tub doesn't really count as a "garage circuit". We also put in two 220vac circuits, one dedicated to the air compressor and one to be shared between the welder and plasma cutter. Luckily our electrical service was already @ 200 amps, and the box had (and continues to have) plenty of room. My parents were an invaluable help during this whole deal!
I'll note that electrical work scares some folks. I don't see why. As long as you don't screw anything up, you won't get electrocuted or start a house fire. Seriously, electrical work isn't all that hard and you _can_ find decent references about how to do it safely and correctly even in today's litigious society. Rex Caudwell's "Wiring a House" book is one really good example. Its also about 9 billion times easier to understand than the public library's copy of the National Electric Code (NEC) which I also thought would be a good way to go until I actually tried it.
Next we did some wall insulation, to try and help the house retain heat through the winter as much as anything. Standard 3.5" R13 (or whatever it is) insulation. Insulation is nice to do, because its pretty much dead simple and its hard to electrocute yourself, hit yourself in the thumb, throw your back out lifting up a header beam, or drop a jack hammer on your foot. :-)
I don't seem to have any pictures of that stuff. I'm a horrible person. Progress kinda halted at that point and the garage sat untouched for something like a year. Momentum was gone, and my parents had wised up a little.
In November 2006, I couldn't successfully ignore the lack of progress with the garage any longer. I'd been doing good up until this point, but with our 1st baby due in January 2007 and lots of exercise equipment in the "baby's room" (and lots of shop equipment where the exercise equipment needed to go) even I got more motivated. So work recommenced.
The end result looks like this, and is ready to be re-sided and have a garage door installed after the floor is done:
Next up is raising the floor. Since its hard to get a jack under the slab, this means removing the existing concrete slab and pouring a new one about 6" higher. We could have done it the easy way and just poured the new floor on top of the existing one, but the existing floor was all cracked up and we weren't sure how good a base it would be. A contractor friend also encouraged us to remove the existing floor. In preparation for this, I bought a jackhammer about two years ago when it was on sale at Harbor Freight.

Many, many people agree with what you're thinking now (that I'm insane). I'll point out that they are wussy people without their own jackhammers and that you shouldn't be like them.
It's an honest-to-goodness electric jack hammer (people in suits call them "breaker hammers" by the way) just like you'd rent from the tool place. I think I paid $368 plus tax for it and it came with a warranty that I don't think covers sitting unused in its case for two years, then being put to work. I don't remember what the rental place charged for one, but I'm pretty sure I told Laura it was $368 per day.
You can also get pneumatic jackhammers btw. _That_ would be insane. Not so much because of the jackhammer (which is cool) but rather because of the big tow-behind diesel air compressor you need to run one. I can't get one of those until the Garage Mahal is built and we have a place to store it.
Anyway, with the tool buying long since completed, we were quoted $1500 for the concrete guy to break up and remove the floor for us. After talking with him, that turned into me breaking up the floor and him only charging us $200 to scoop up the chunks with his Bobcat (which everyone except me seems to call a "skid steer") along with a "to be determined" disposal fee charged by wherever it is that you take concrete chunks to get rid of them. As long as the disposal fee is less than $968, we come out ahead even if you ignore the benefits of owning your own jackhammer.
Anyway, as of December 2006, jackhammering commenced. Again, here's a page about it.
And, in December 2006, jackhammering finished! Here's another page.
So, with the breaking up of the floor completed, here's where we stand:
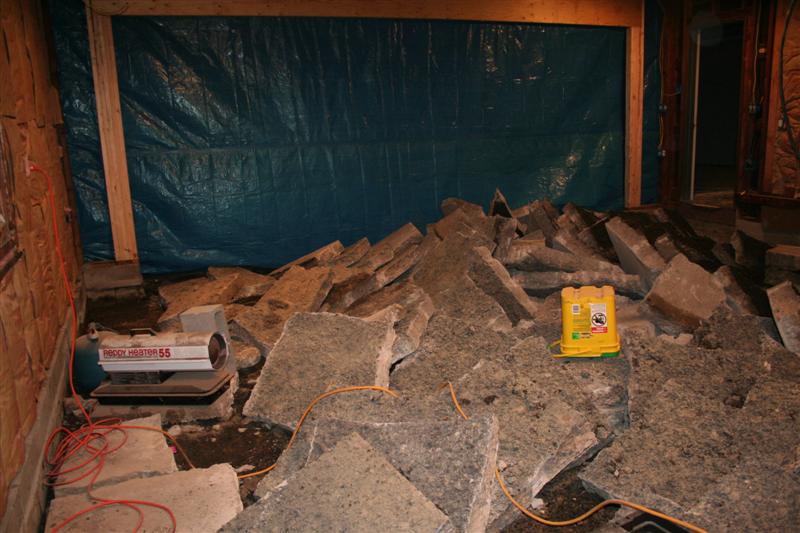
Actually "standing" is pretty hard to do on the floor right now... Joe the concrete guy is supposed to come on Monday. Theoretically this means that we'll have a new floor poured by this time next week! I wonder just how much "theoretically" is in there...
... Its now Wednesday of the following week. Guess what?

You did click the picture didn't you? If not, click here for the pouring of the new floor.
It's been a while since I updated this page... In fact, according to the dates on the pictures, the floor pour was completed on December 12th, 2006 and today is April 19th, 2007.
Note, if you have to refer to the dates on the pictures to figure out when you last worked on something... Well let's just say you're probably not setting the world on fire progress-wise. :-)
We've got a good reason though! His name is Dominic, and he was born on Jan. 26th.
"So", you're thinking to yourself, "Surely that means he got the garage done, but didn't have time to post about it before Dominic arrived and since then he's been consumed with taking care of a baby". My response? "Quit deluding yourself." :-) While Laura and I have in fact been consumed with Dominic since his arrival, we weren't able to get the garage done before he got here. But we _did_ make some progress!
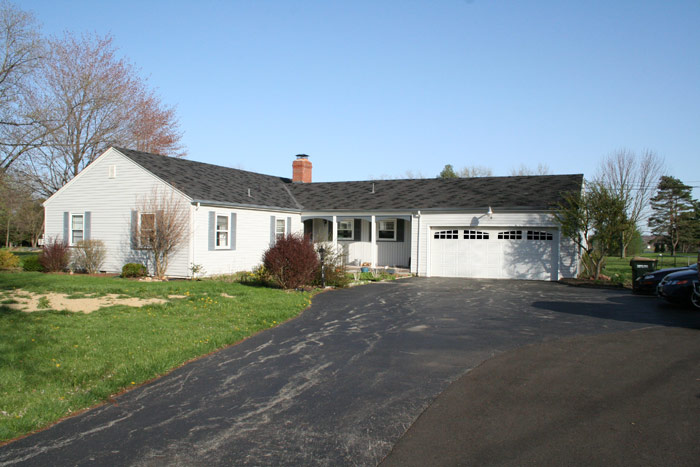
The first task was to close off the front of the garage with something other than a blue tarp. The end result looks like this:
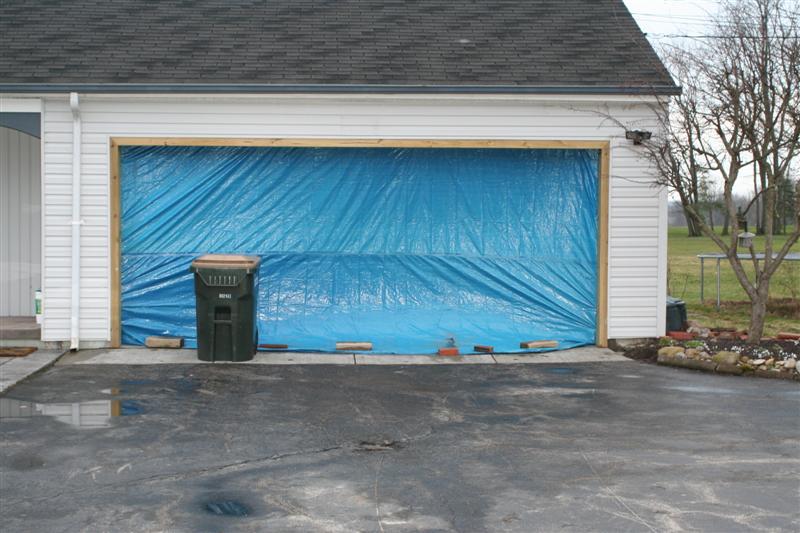
There's more on that process here. I know, we didn't seem to quite eliminate the blue tarp...
With the outside essentially done (there's a bit of paint needed on the trim, and clearly we still need to do something about having a door that goes up and down easily), I got going on the ceiling inside. I wanted the ceiling done before we put in the garage door (which is on order and should be here in another week or two). Btw, we're getting an 18x7.5 door from Wayne Dalton, along with one of their iDrive or whatever they're called wall mounted openers. This leaves the center of the ceiling clear between the door tracks unlike regular openers, just in case I ever really do get a lift.
But anyway, like I said, I want the ceiling up before I install the door, just so that the door tracks are mounted on the outside of the sheetrock (or drywall, if you want someone around here to know what you're talking about).
So, some insulation and sheetrock work later, I eventually install the last piece of sheetrock for the ceiling.
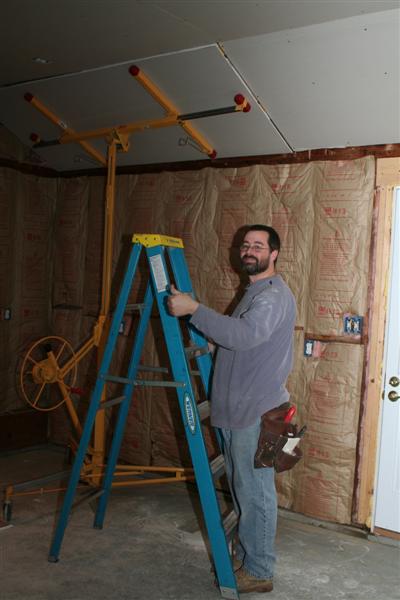
(At this point, I'm just doing the thumbs up bit because I want to remain historically correct in my pictures)
And once again, here's another page with more about how that all went.
This picture represents a complete and total fabrication on the part of Wayne Dalton
Here's a page on the door installation!
The end result is looking more and more like a real garage: